
This post may contain affiliate links. Please see my full disclosure for details.
Hi Bold Bakers!
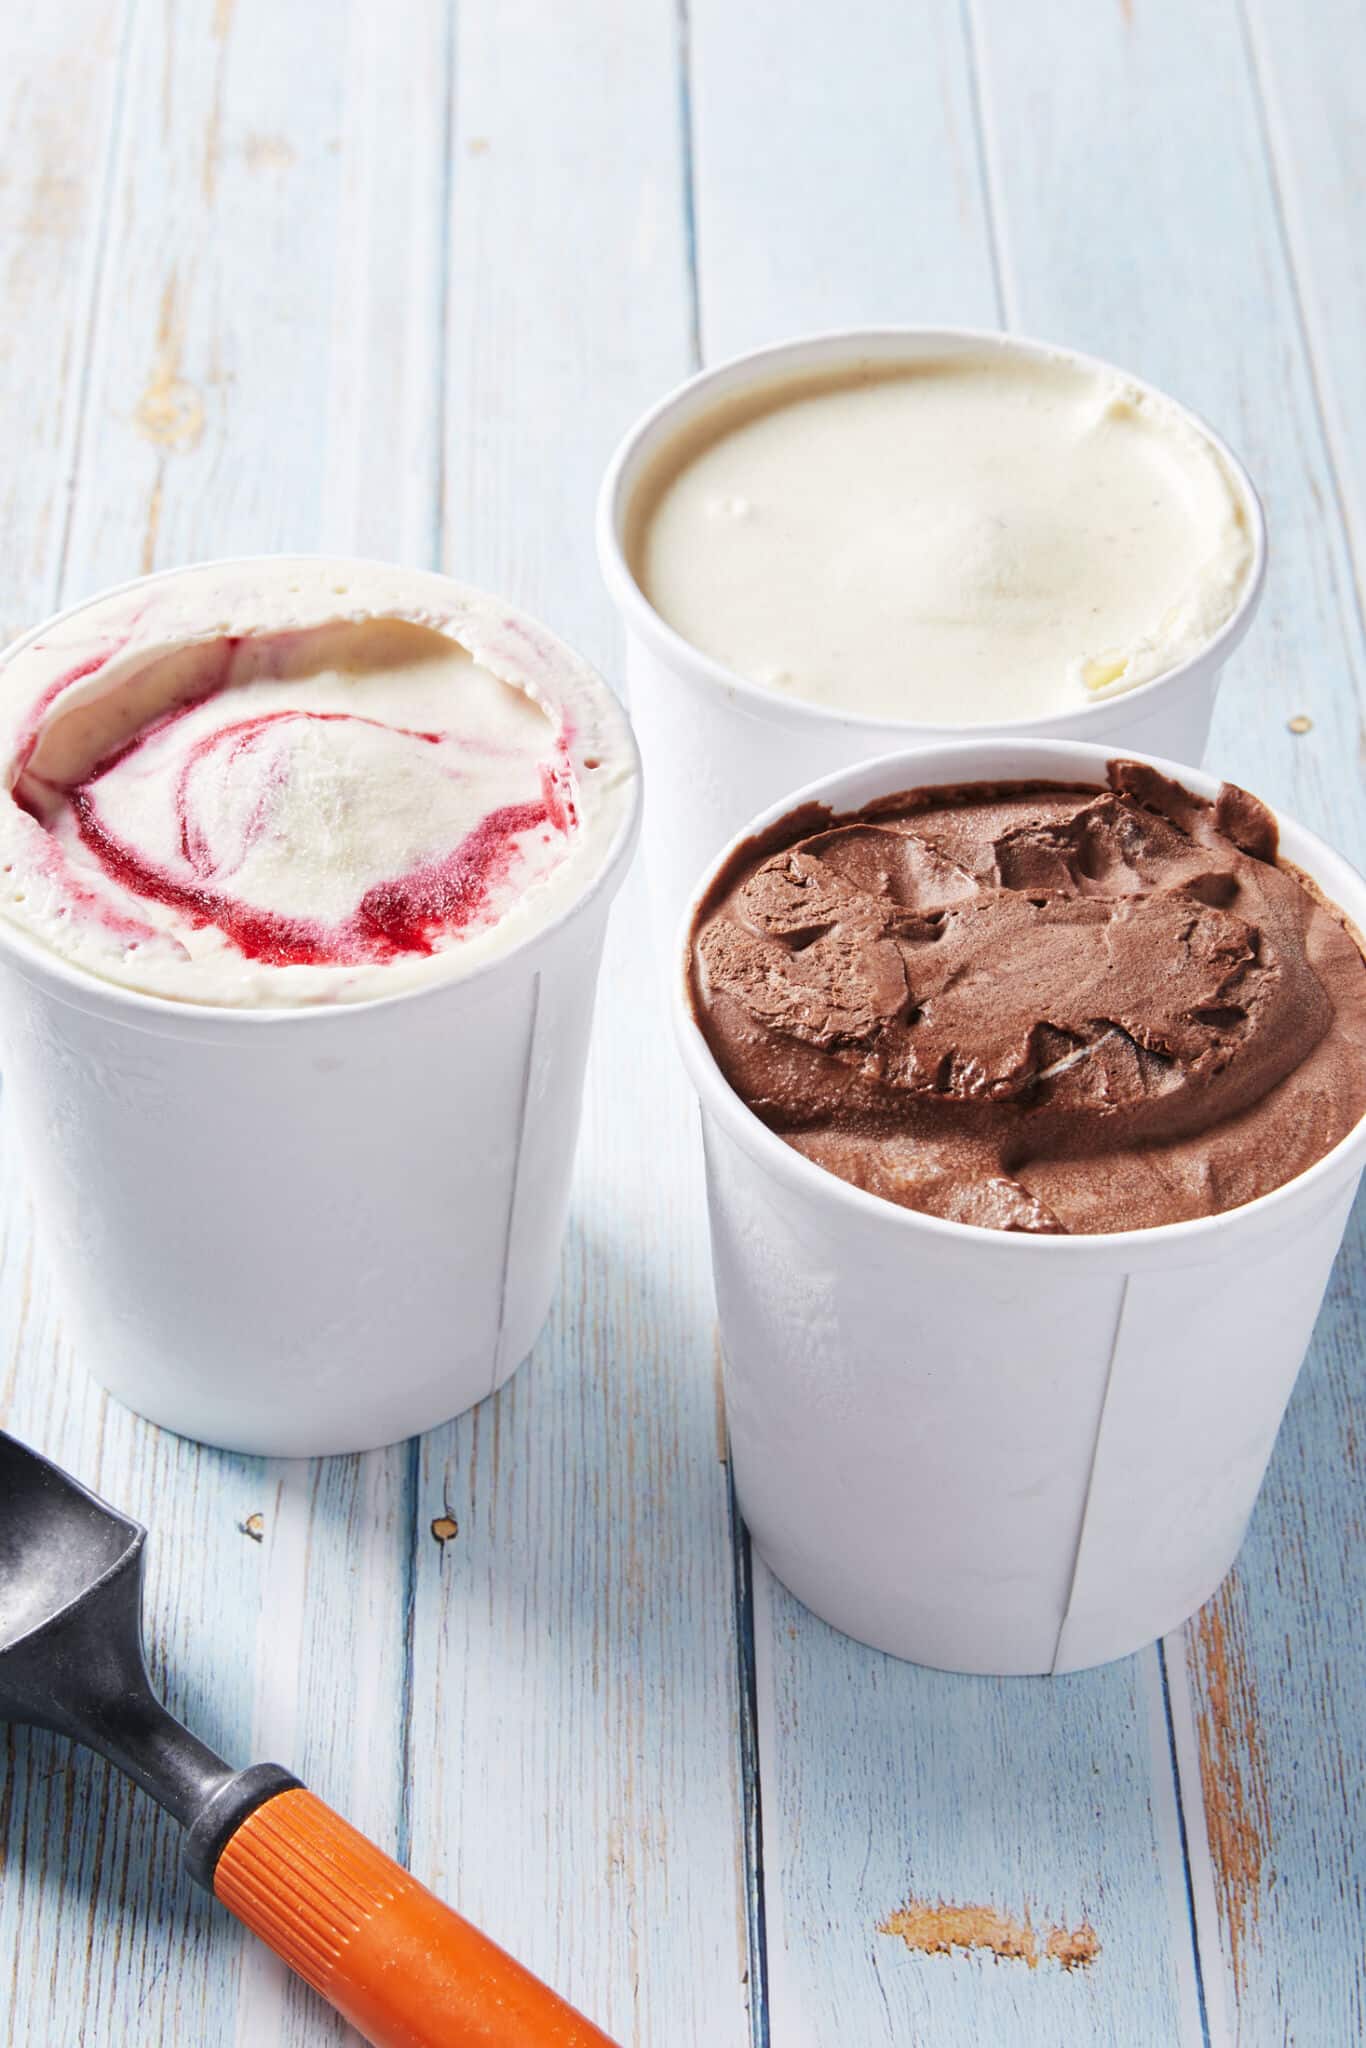
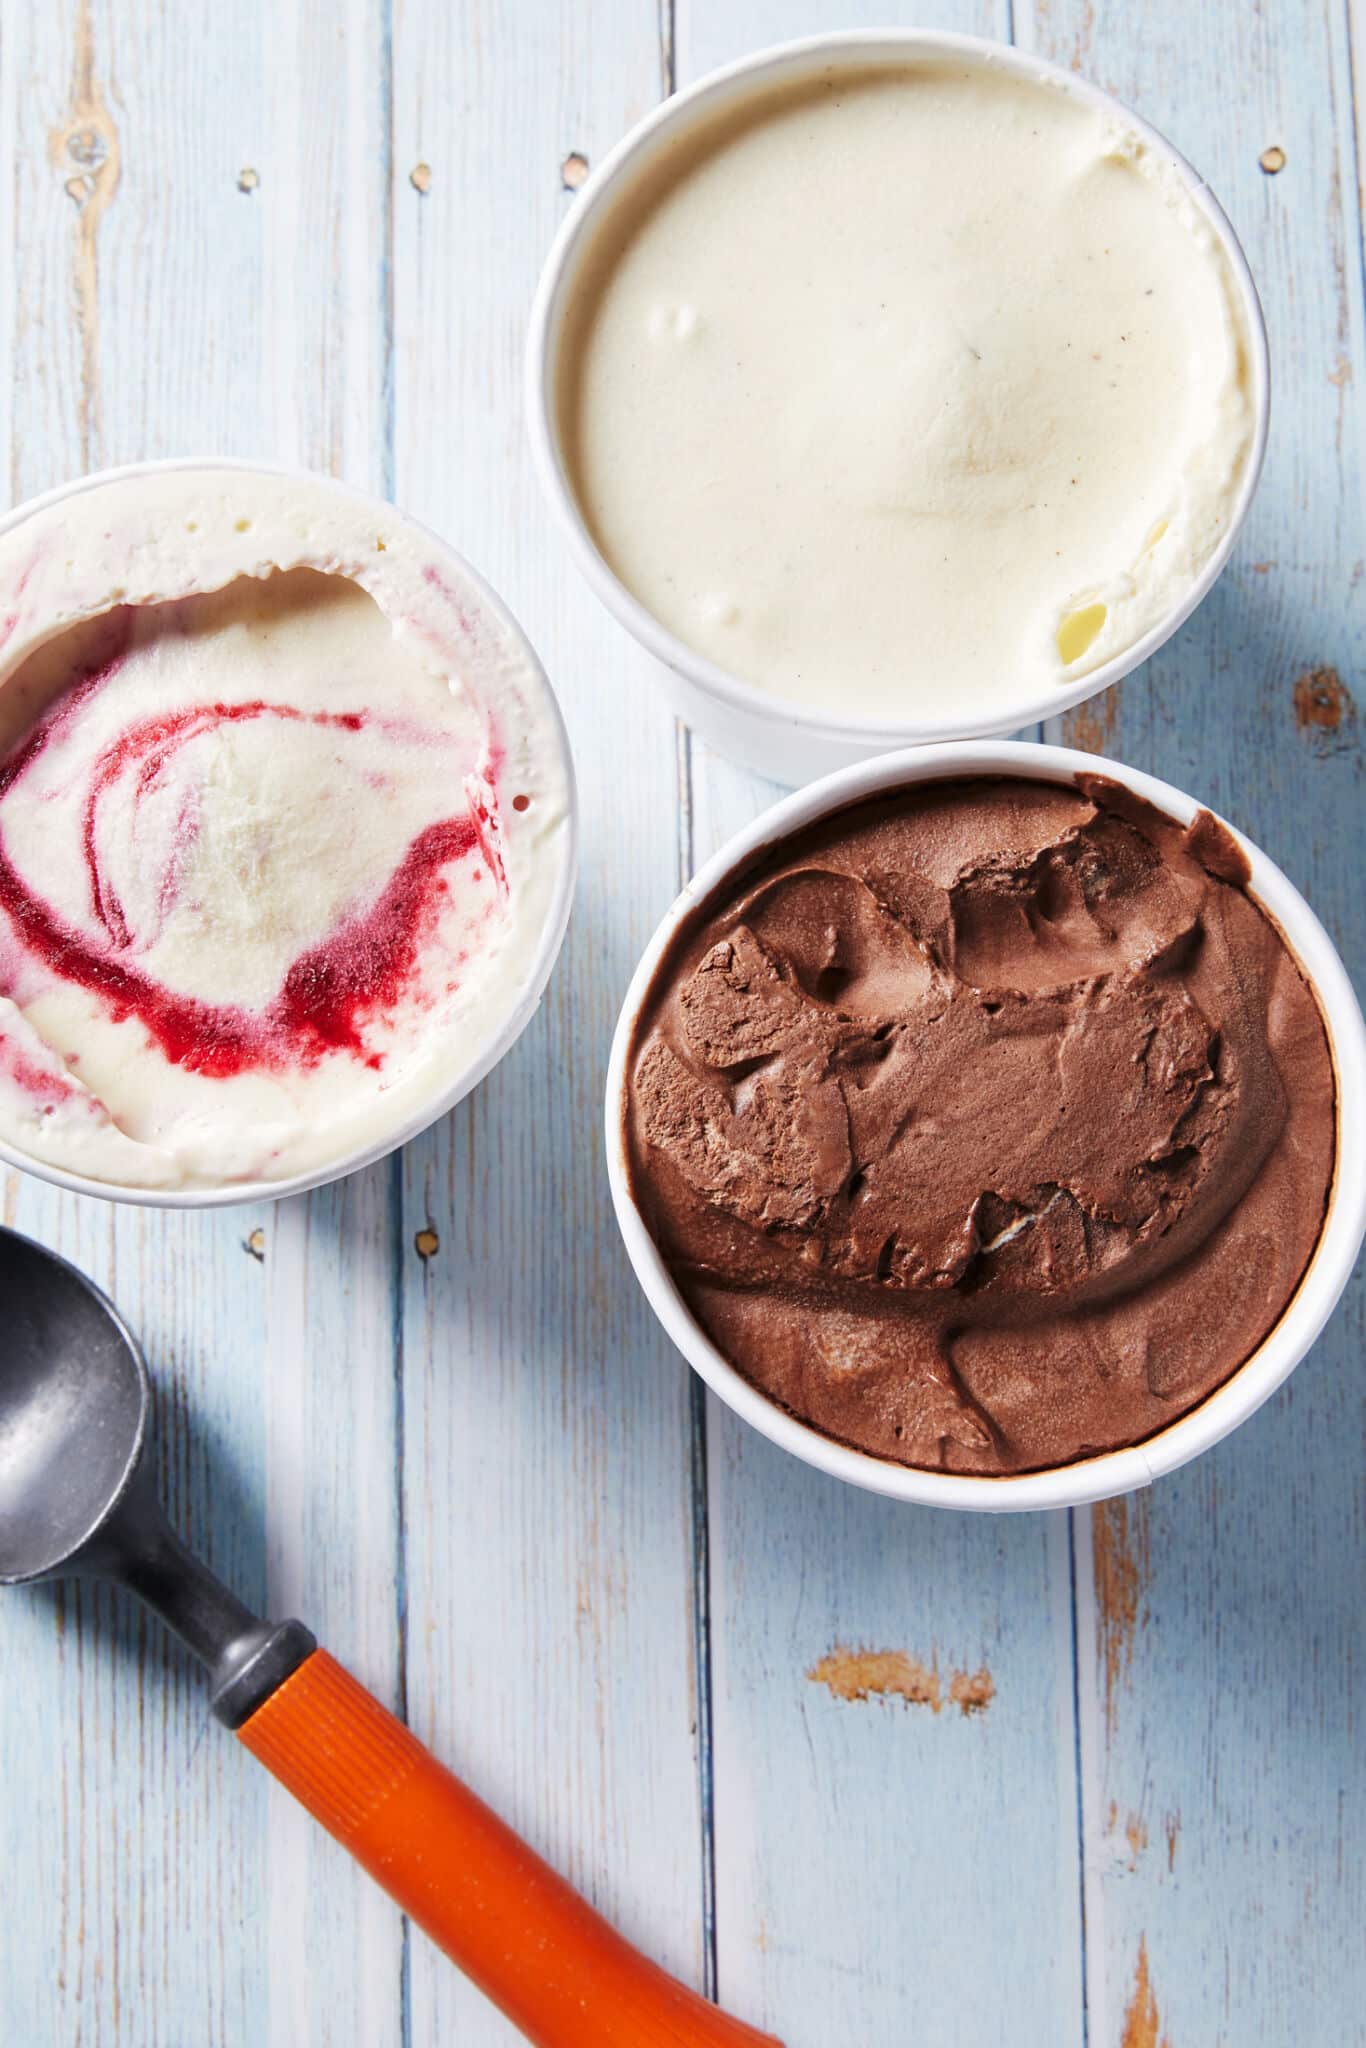
WHY YOU’LL LOVE THIS RECIPE: With our No-Churn Artisanal Ice Cream 3 Ways, you choose your own outrageously delectable ice cream adventure: learn how to turn one batch of rich, sweet, custard-based ice cream into three unique, crave-worthy flavors.
- Our no-churn base guarantees a sumptuously thick ice cream that’s as luxurious as old-fashioned ice cream but without the hassle of churning.
- The custard base is easy to make and will give you an unparalleled depth of flavor that will outshine your favorite ice cream parlor treats (plus it’s less expensive)!
At Bigger Bolder Baking, we are obsessed with creating the most addictive frozen desserts that have no preservatives, are easy to make, and are stress-free! No-Churn Artisanal Ice Cream 3 Ways features a custard base, and our other recipes for sweet treats include Homemade Raspberry Sorbet, unbelievably smooth Homemade Soft Serve, and luscious Easy Homemade Gelato!
Table of Contents
- What is No-Churn Artisanal Ice Cream 3 Ways?
- Tools You Need
- Key Ingredients and Why
- How to Make No-Churn Artisanal Ice Cream 3 Ways
- Gemma’s Pro Chef Tips
- Can I Make this No-Churn Artisanal Ice Cream in Advance
- How to Store Leftovers
- FAQs
- More Ice Cream Recipes

What is No-Churn Artisanal Ice Cream 3 Ways?
- No-Churn Artisanal Ice Cream 3 Ways is a custard-based ice cream with whipped cream folded to lighten the mixture. Because the whipped cream aerates, volumizes, and increases the creamy factor, it eliminates the need for an ice cream maker.
- This from-scratch ice cream base is the perfect blank canvas for our three bold flavors, which incorporate gourmet-level, budget-friendly, fresh ingredients.
- Sweet snow and fruit juice mixtures were made in China in 3,000 B.C. Dairy began to be used in frozen concoctions in the medieval period, and ice cream makers were invented in the 1800s. Modern no-churn ice cream unites the best of traditional recipes with modern time-saving and convenient techniques.
Tools You Need
- Mixing bowl
- Measuring cups
- Measuring spoons
- Glass measuring jug
- Kitchen scale (optional)
- Sieve
- Heatproof bowls
- Whisk
- Medium saucepan
- Ladle
- Spoon
- Stand mixer fitted with a whisk attachment (optional) or hand mixer
- Silicone spatula
- Food processor or blender (optional)
Key Ingredients and Why
For the Ice Cream Base
-
Egg yolks
- Using only the yolks gives this ice cream a sumptuous mouthfeel.
-
Granulated sugar
- Granulated sugar sweetens this ice cream, and it enhances the flavor add-ins.
- Sugar keeps the ice cream smooth with the perfect level of softness. That’s because the sugar lowers the mixture’s freezing point, preventing it from freezing hard and developing ice crystals.
-
Salt
- The small amount of salt in this recipe is crucial to balance and enhance the flavors.
-
Whole milk
- Whole milk, with a fat content of 3.25 percent, has the perfect richness for making a deliciously creamy custard base.
- A milk-based custard gives you a silky ice cream that’s not dense.
-
Vanilla extract
- Vanilla extract not only adds a lovely flavor, but that teaspoon of vanilla also helps lower the freezing point of the mixture so it doesn’t freeze icy hard.
- Learn how easy it is to Make Homemade Extracts, and you’ll always have high-quality vanilla on hand at a fraction of the cost of store-bought vanilla!
-
Heavy whipping cream
- Heavy cream whipped and folded into the custard incorporates air into the ice cream.
- The fat from heavy whipping cream also adds flavor and creaminess and lowers the freezing point to make ice cream still scoopable once frozen.
- I recommend full-fat heavy cream (35 % to 38% fat) since this type of cream whips up the best.
Vanilla Bean Flavor
-
Vanilla bean paste
- Vanilla bean paste gives a deliciously complex vanilla flavor due to the presence of both the seeds and pieces of the vanilla bean pod.
- Vanilla paste typically contains both the scraped seeds from the pods themselves.
- The vanilla bean seeds give it a speckled appearance, which is visually appealing in the ice cream.
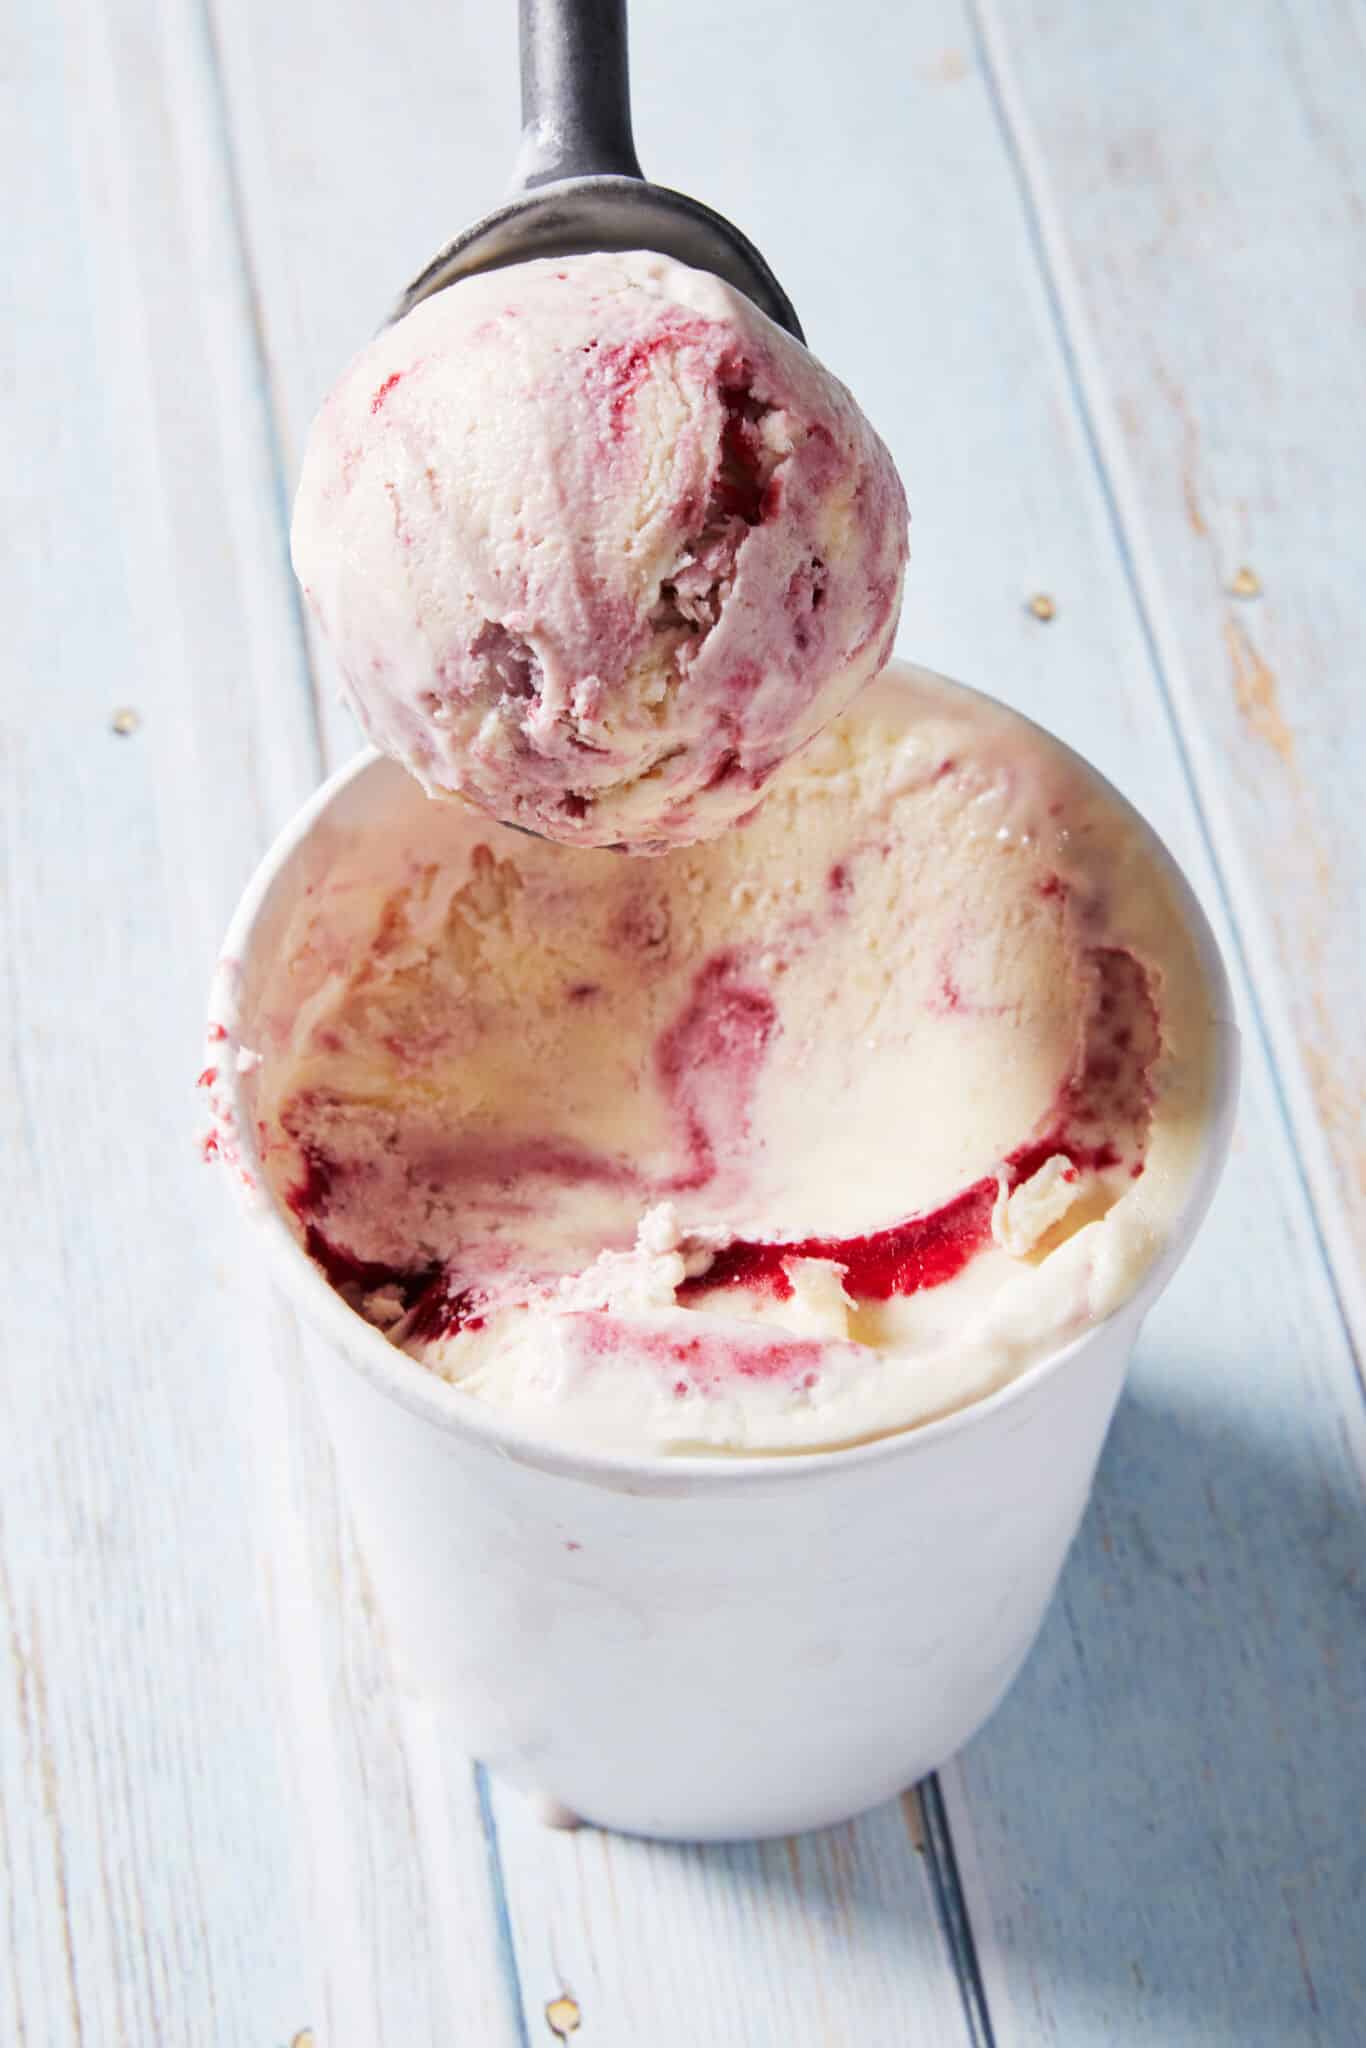
Raspberry Ripple Flavor
-
Raspberries
- This tart-sweet fresh fruit adds vibrant flavor and gorgeously vivid color to the ice cream.
Double Chocolate Flavor
-
Cocoa powder
- The beautifully intense taste of cocoa powder gives the ice cream the perfect depth of flavor for chocolate lovers.
-
Bittersweet chocolate
- Bittersweet chocolate (63 to 72 % cocoa solids), a dark chocolate with a more profound flavor, perfectly contrasts with the sweet ice cream.
- Check out my Ultimate Guide to Chocolate to know more about when and how to use different types of chocolate.
How to Make No-Churn Artisanal Ice Cream 3 Ways
- Make the custard base:
- Place a sieve over a heatproof bowl and set it near the stove.
- In another heatproof bowl, whisk egg yolks, sugar, and salt. Set near the stove.
- In a medium saucepan, warm milk over low heat until it comes to a simmer (about 5 minutes).
- Temper and finish the custard:
- Pour the hot milk in slowly, one ladleful at a time, while constantly whisking.
- Return the mixture to the pot and cook over low heat, stirring constantly for 6 to 8 minutes, just until a custard forms.
- Immediately remove from the heat and pass through the sieve into the heatproof bowl. Stir into vanilla extract.
- Cool the custard fully, either in the refrigerator or over a bowl full of ice.
- Whip the cream:
- In a stand mixer, whip the heavy cream on medium-high speed until thickened, about three minutes.
- Fold the cream into the cooled custard mixture.


- Add the ice cream flavors:
- For Vanilla Bean Ice Cream:
- Add the vanilla bean paste.
- For Raspberry Ripple Ice Cream:
- Purée raspberries and sugar in a food processor or blender.
- Sieve to remove seeds.
- Drizzle over ice cream and fold in once or twice to keep the ripple separate.
- For Double Chocolate Ice Cream:
- Into the saucepan with milk, add chopped chocolate and cocoa powder.
- Whisk the sugar and salt into the egg yolks.
- Over medium-low heat, warm the mixture until the chocolate melts. Whisk to combine.
- Once warm, temper the eggs with this mixture and continue with the base recipe.
- For Vanilla Bean Ice Cream:
- Freeze: Put the ice cream in a freezer-safe container and freeze for six hours before serving.

Gemma’s Pro Chef Tips
- If you don’t have a stand mixer to whip the cream, you can use a handheld electric mixer. Cream can also be whipped by hand with a large whisk.
- If you plan to make the double chocolate flavor, please note that you will have to add the chocolate and cocoa powder at the beginning into the milk while it’s heating.
- We suggest three different flavors here, but feel free to go off script and create your own with mix-ins of your choice, from classics like chopped Best Ever Brownie or cookies to hazelnuts, pistachios, or almonds, or a drizzle of my Salted Caramel Sauce!
- Gild the lily by serving these with Homemade Ice Cream Cones.
- Use the leftover egg whites from this recipe to make Pavlova or Meringues with Peach and Raspberry Compote! You can freeze the leftover egg whites for up to two months. Defrost them in the refrigerator overnight before using.
Can I Make No-Churn Artisanal Ice Cream in Advance?
Yes, you can make No-Churn Artisanal Ice Cream in advance.
- The custard can be made up to 24 hours before using.
- The ice cream must freeze for six hours before you scoop it.
- You can make the ice cream up to three days ahead and store it in an airtight container in the freezer.
- I wouldn’t recommend storing it any longer, as it may get icy.
How to Store Leftovers
Store leftover ice cream in an airtight container for up to three days.

FAQs
-
What’s the difference between No-Churn Artisanal Ice Cream and 2-Ingredient Ice Cream?
- No-Churn Artisanal Ice Cream consists of a custard made with egg yolks, sugar, milk, and flavorings. Whipped heavy cream is folded into the custard. Two-ingredient ice cream is made from sweetened condensed milk combined with whipped heavy cream.
- No-Churn Artisanal Ice Cream involves the extra step of making a custard. However, the result is closer to that of traditional ice cream.
-
How do I make sure my eggs don’t curdle?
- Before cooking a custard, always have a clean bowl and sieve ready so you can stop the cooking immediately. If not, you may end up with scrambled eggs.
- Be sure to temper. Tempering is a method of introducing hot liquid to eggs slowly and gradually to prevent curdling. If you pour hot liquid all at once into eggs, they will likely curdle due to the shock of the heat. Here’s how to temper:
- Begin by whisking the egg mixture with one hand.
- Then, with the other hand, slowly ladle or drizzle the hot liquid into the eggs. By doing this, there are no hot spots, and the eggs will warm up gently and evenly.
- Additionally, when you whip the cream, be careful not to overwhip it and turn it into butter!
-
Can I make this ice cream egg-free?
- For an egg-free version, use my Homemade Vanilla Ice Cream as a base for these recipes.
- For other egg-free ice creams, try our excellent Creamy Vanilla Pudding Ice Cream, Cornstarch Ice Cream (Sicillian Eggless Gelato), or vegan ice creams like Dairy-Free Coconut Homemade Ice Cream (No-Machine).
More Ice Cream Recipes
- 3-Ingredient No-Churn Ube Ice Cream
- No-Churn Irish Cream Ice Cream
- Honeycomb Ice Cream (No Machine)
- No Machine Strawberry Cheesecake Ice Cream
- Funfetti Ice Cream (No Machine)
Try These Recipes!


No-Churn Artisanal Ice Cream 3 Ways
Ingredients
For the Ice Cream Base
- 4 large egg yolks, at room temperature
- ¾ cup (6 oz/170 g) granulated sugar
- ¾ teaspoon salt
- 1 cup (8 floz/240 ml) whole milk
- 1 teaspoon vanilla extract
- 1 ½ cups (12 floz/360 ml) heavy whipping cream
Vanilla Bean Ice Cream
- 1 teaspoon vanilla bean paste
Raspberry Ripple Ice Cream
- 1 ¼ cups (6 ¼ oz/177 g) raspberries
- 2 tablespoons granulated sugar
Double Chocolate Ice Cream
- ⅔ cup (4 oz/115 g) bittersweet chocolate, finely chopped
- ¼ cup (1 oz/28 g) cocoa powder, sifted
Instructions
Make the Ice Cream Base
- Place a sieve over a medium, heatproof bowl and set aside near the stove.
- In another medium heatproof bowl, whisk the egg yolks, sugar, and salt until smooth. Set aside near the stove.
- Warm the milk in a medium saucepan over low heat until it comes to a simmer, about 5 minutes.
- Temper the egg mixture by whisking it constantly while you pour in the hot milk, one ladleful at a time.
- Return the mixture to the pot and gently cook over low heat, stirring constantly for 6 to 8 minutes, just until a thick custard is formed.
- Immediately remove from the heat and strain the mixture through the sieve. Stir in the vanilla extract.
- Set aside to cool down fully before moving on to the next step (you can put the custard in the fridge or you can place the bowl over a bowl of ice water to cool quickly). This custard base can be made up to 24 hours in advance if needed.
- Whip the heavy cream in the bowl of a stand mixer fitted with a whisk attachment on medium-high speed until thickened, about 3 minutes. Gently fold the whipped cream into the chilled custard until evenly mixed.
- Add in your preferred flavors (vanilla, raspberry ripple or chocolate below). Store in a freezer safe container, cover with a lid and freeze for at least 6 hours before serving.
Vanilla Bean Ice Cream
- Make your ice cream base fully but before freezing, stir in vanilla bean paste into the base, pop into a container, cover and freeze for at least 6 hours before serving.
Raspberry Ripple Ice Cream
- Puree the raspberries and sugar in a food processor or blender and then pass through a fine mesh sieve to strain out the seeds.
- Make your ice cream base fully, but before freezing, drizzle the puree over the ice cream and fold in only once or twice to keep the raspberry distinct from the base. Place in a container, cover and freeze for at least 6 hours before serving.
Double Chocolate Ice Cream
- Into your saucepan with your milk, add the chopped chocolate and cocoa powder.
- Whisk in the sugar and salt into the egg yolks.
- Over medium-low heat, warm the mixture until the chocolate melts. Whisk to combine.
- Once warm, temper your eggs with this mixture and continue the ice cream as above in the base recipe.
- Place in a container, cover and freeze for at least 6 hours before serving.
Recipe Notes
- If you don’t have a stand mixer to whip the cream, you can use a handheld electric mixer. Cream can also be whipped by hand with a large whisk.
- If you plan to make the double chocolate flavor, please note that you will have to add the chocolate and cocoa powder at the beginning into the milk while it’s heating.
- We suggest three different flavors here, but feel free to go off script and create your own with mix-ins of your choice, from classics like chopped Best Ever Brownie or cookies to hazelnuts, pistachios, or almonds, or a drizzle of my Salted Caramel Sauce!
- Gild the lily by serving these with Homemade Ice Cream Cones.
- Use the leftover egg whites from this recipe to make Pavlova or Meringues with Peach and Raspberry Compote! You can freeze the leftover egg whites for up to two months. Defrost them in the refrigerator overnight before using.


Thank you for sharing this recipe